
Wall Fixing for A4 and A3 Snap Frames
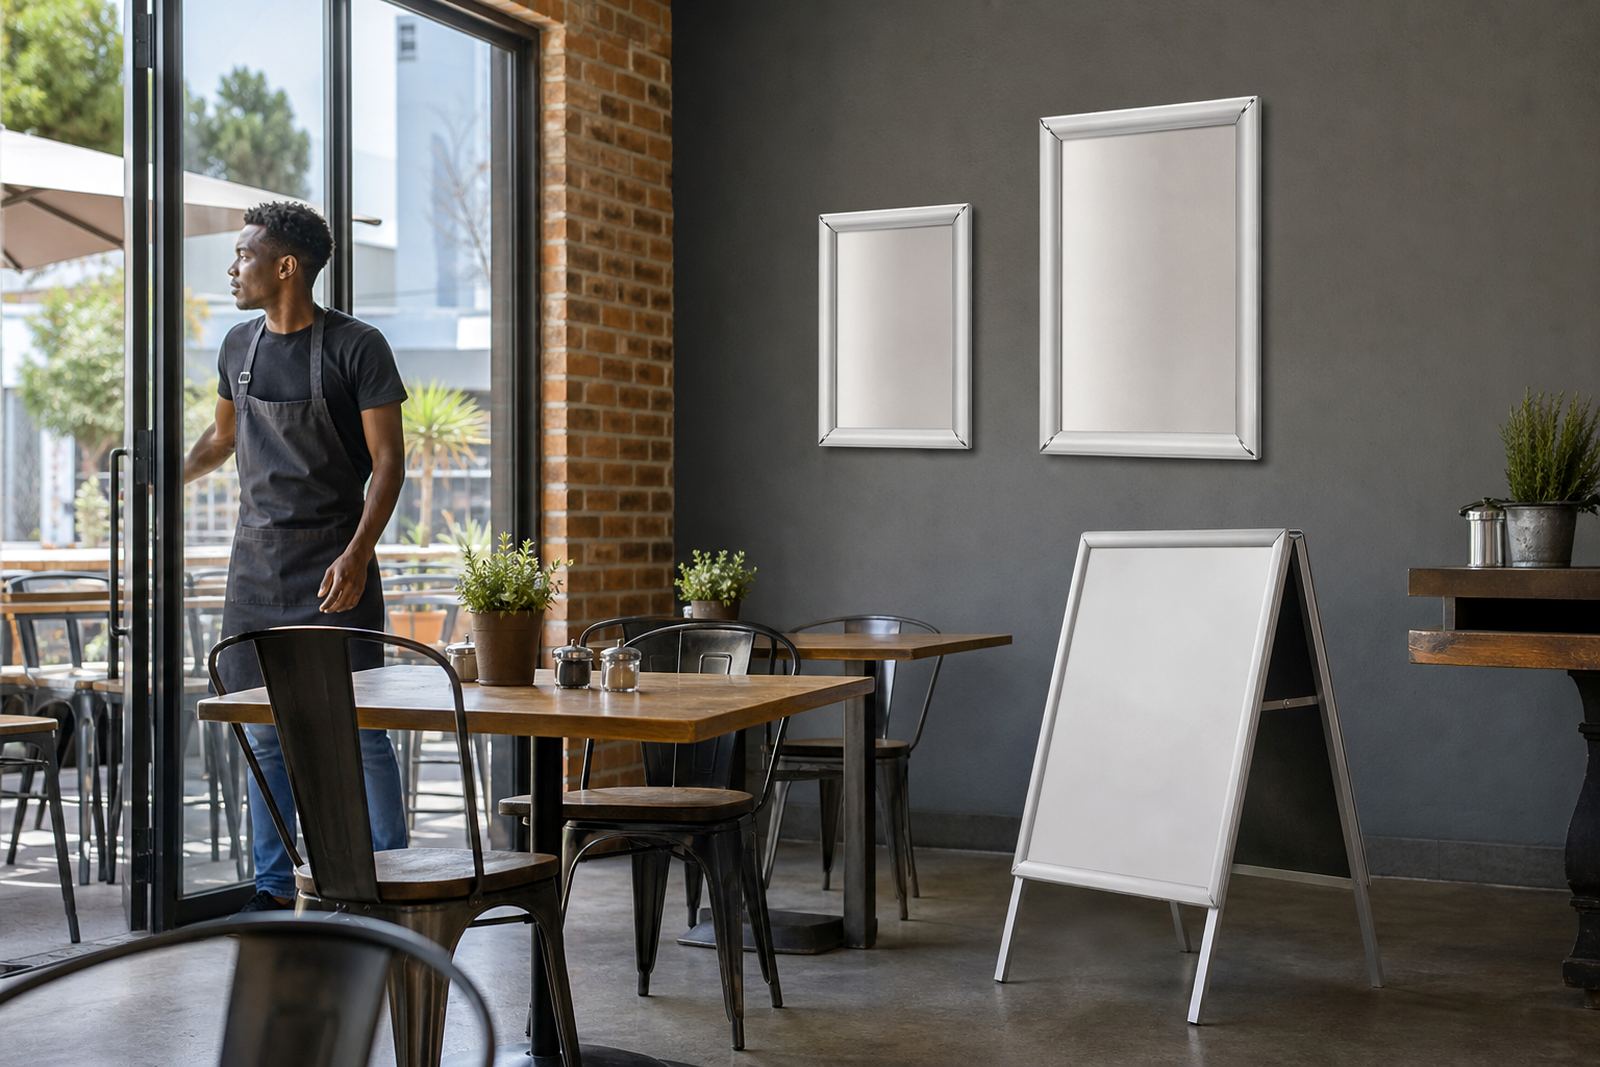
Wall mounted snap frames use a simple front-opening profile, but the fixing points still need a sound surface. Brick, concrete and well prepared timber are the easiest to work with. Plasterboard needs the right anchors and a check on what sits behind the board before any holes are drilled.
For a light A4 menu frame, two fixings are usually enough. A3 frames carry more weight and need careful spacing so the frame stays level. If the wall is damp or powdery, clean and seal it first, otherwise the plugs can work loose over time. In coastal areas like Cape Town and Durban, metal fixings are best kept dry and secure because salt air does not take long to show up as rust.
- Mark the top edge first, then measure the fixing points from that line.
- Use a spirit level, because a frame that leans looks wrong even when the menu is fine.
- Keep the snap edges clear so the cover can open fully for menu changes.
Window Display Methods That Hold Up in Daily Service
Window mounted menu boards are useful when passers-by need to read specials without entering the shop. Suction fittings work on clean, smooth glass and suit lighter displays. For larger boards or heavier poster inserts, a bracket, clamp or hanging wire gives better support. The glass must be washed properly first, because dust, grease and old sticker residue reduce grip.
A window frame should sit where the text can be read from the pavement, not tucked too high near the lintel. Avoid placing it where direct sun will bleach the print quickly, especially on north facing shopfronts. Anti-glare covers help in bright light and are worth fitting when the board sits behind a glass panel with strong reflections.
- Clean the glass with a lint-free cloth before fitting any suction mount.
- Test the sightline from outside at a few different distances.
- Leave space for opening the snap profile if the frame needs regular swaps.
A-Frame Stand Placement on Pavements and Entrances
A-frame menu stands work well at entrances, on forecourts and beside waiting queues, but they need stable ground. A stand on uneven paving can twist or rock, which makes the board look untidy and can strain the hinges. On windy corners, place the stand where a wall, planter or doorway gives some shelter without blocking the walking route.
In busy areas, the best position is usually just before the customer reaches the door, not right in the doorway itself. Keep enough space for wheelchair access and for people carrying takeaway bags. If the stand uses poster inserts, make sure the sheet sits flat in the holder, because curl at the edges is common in humid weather and can be worse near the coast.
- Check that the feet sit fully on the ground, not partly on a drain cover.
- Use heavier boards or bases where wind is common.
- Place the frame where staff can move it without crossing customer flow.
Choosing the Right Reading Height
Menu boards work best when the centre of the message sits at eye level for the people who must read it. For seated dining, the board can sit a little lower. For standing queues at cafés or takeaway counters, a higher mount often reads better. A board that is too high can hide smaller print, while one that is too low gets lost behind counter tops or customers in line.
For A4 menus, a single frame often suits a narrow wall space. A3 works better where the menu has more categories, longer item names or pricing lines that need breathing room. If the text is dense, print finishing and good typesetting matter as much as the frame itself, because a neat board still needs legible spacing.
- Stand back and read the board from the farthest likely queue point.
- Allow extra margin if the frame sits behind glazing or under a light fitting.
- Match the size of the insert to the frame, not the other way round.
Fixings, Anchors and When the Surface Matters More Than the Frame
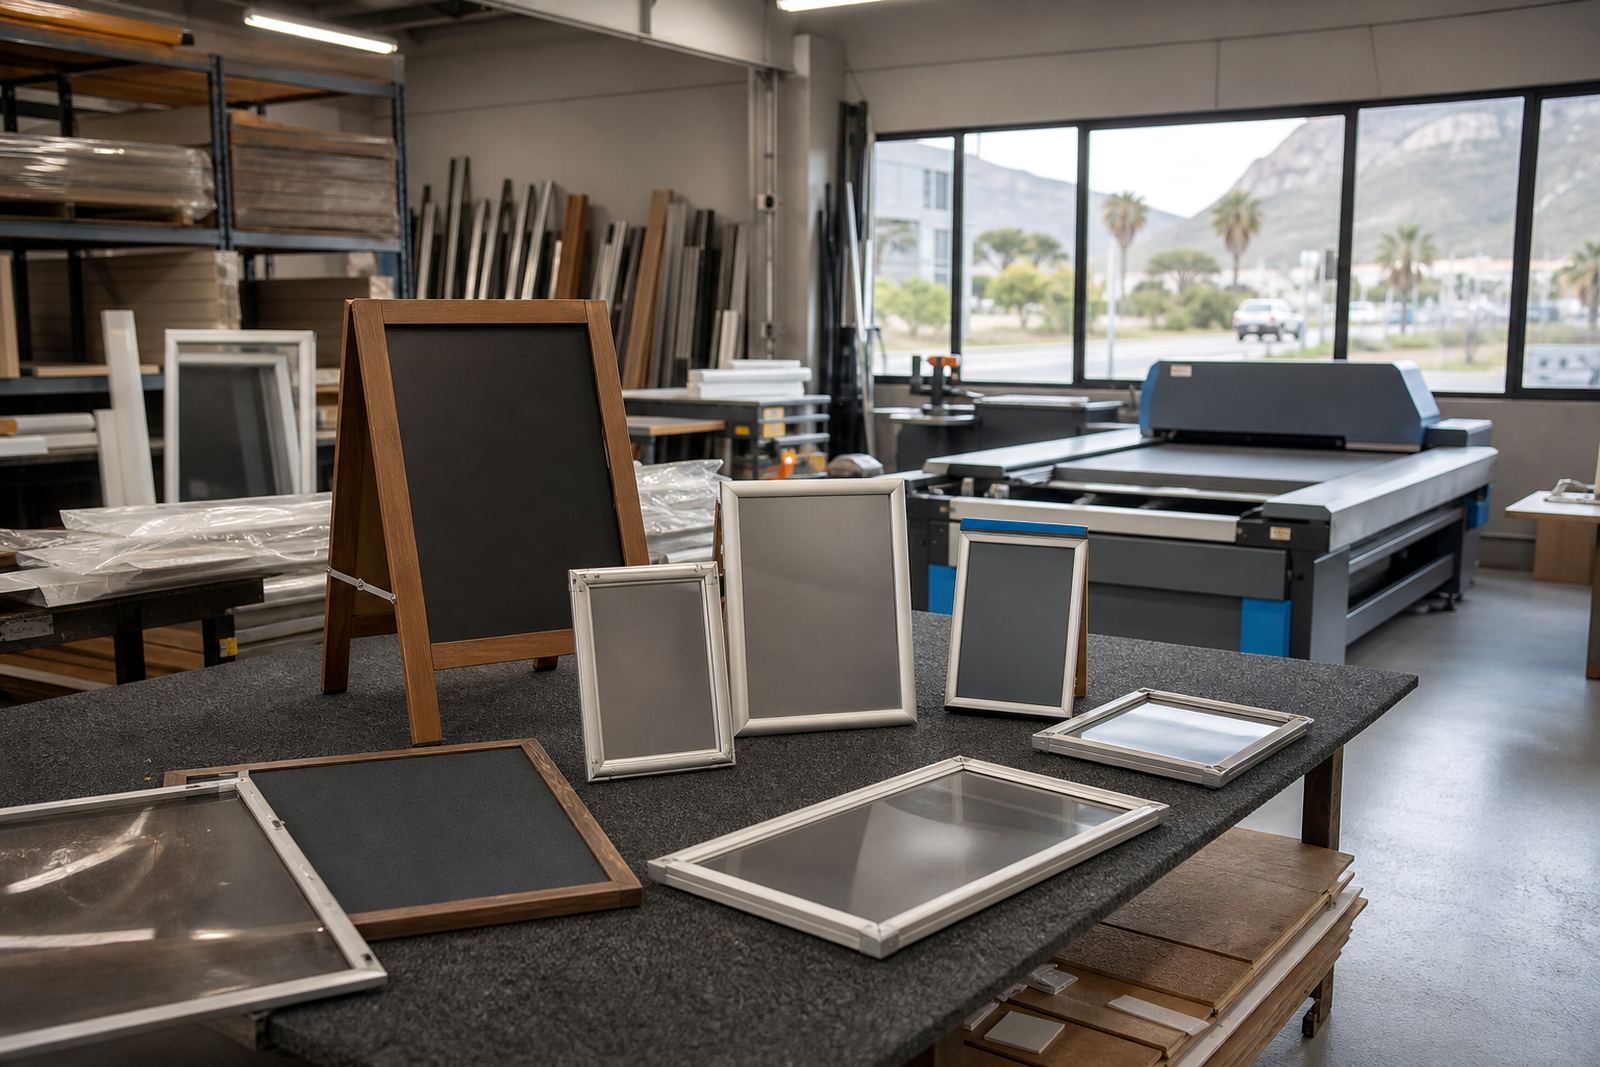
The frame can only perform as well as the surface that carries it. Solid masonry accepts most standard fixings, but hollow walls need anchors chosen for the load. Timber panels can work well if the screws bite into good material and not into thin cladding. For repeated menu changes, the mount should stay firm even after several openings and closings of the snap edge.
Where the surface is uneven, use spacers or a mounting rail so the frame sits flat. A warped board can make the cover pinch on one corner, which is annoying when menus need quick updates. In some older buildings, the wall itself is the problem, not the frame, and a better bracket or a different position is the cleaner fix.
- Check the surface for looseness before drilling.
- Do not force a fix into crumbly plaster or cracked tile.
- Use spacing pieces if the wall finish curves or bows.
Menu Insert Size, Orientation and Print Readability
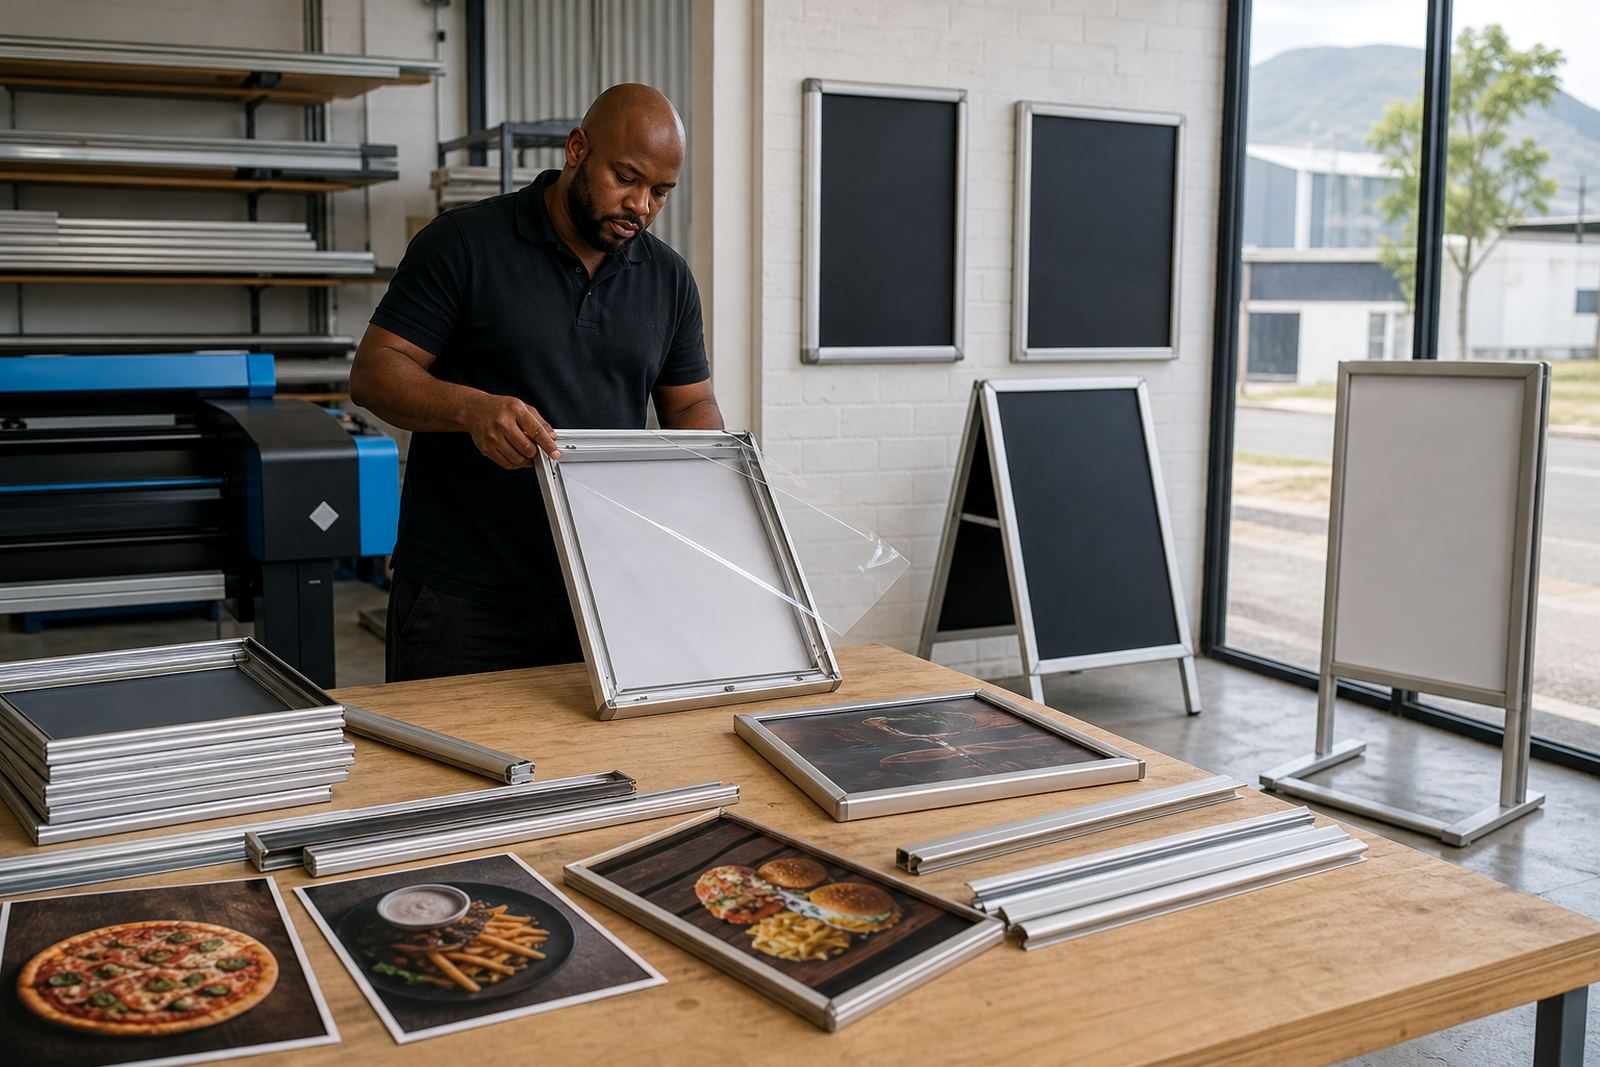
Menu inserts usually work best when the artwork is prepared to the exact frame size, whether that is A4, A3 or a custom board. Portrait orientation suits drink lists and compact specials. Landscape layout helps with set menus, combo offers and boards with several columns. The most common mistake is squeezing too much text into a small insert, which makes the board hard to read even when the print is sharp.
If the frame is used near a window or in a bright room, consider matte laminates or anti-glare covers to reduce shine. That makes the text easier to read when sunlight shifts through the day. For short run printing and repeated updates, keep a master layout file that leaves enough room for price changes and item swaps, because the frame should support the menu, not fight it.
For support on wall fixing, window display or choosing the right board size, our contact form can be used to send the details through with the frame dimensions and a quick note on the surface.