
The brief from a small sushi counter in Durbanville
The client runs a compact sushi bar with a short dine-in list, takeaway items and a few notices that move around during the week. The main problem was not the artwork, it was the format. Staff were wasting time opening frames, trimming paper and trying to keep the counter area neat when specials changed.
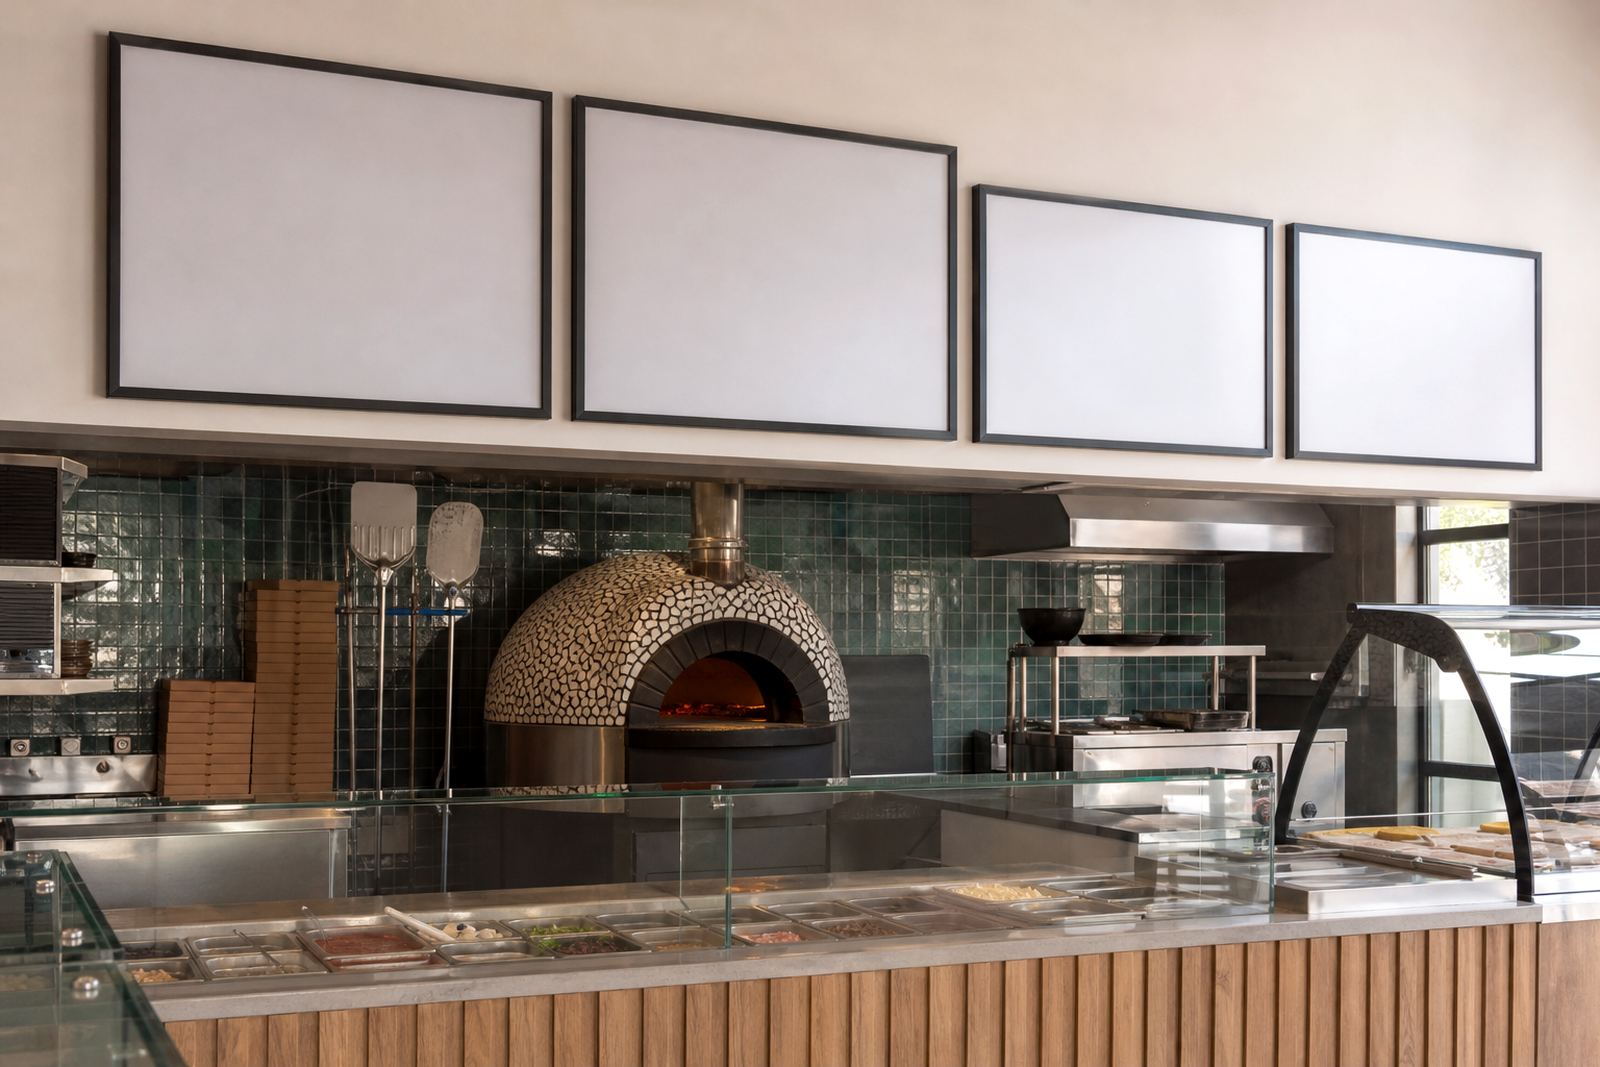
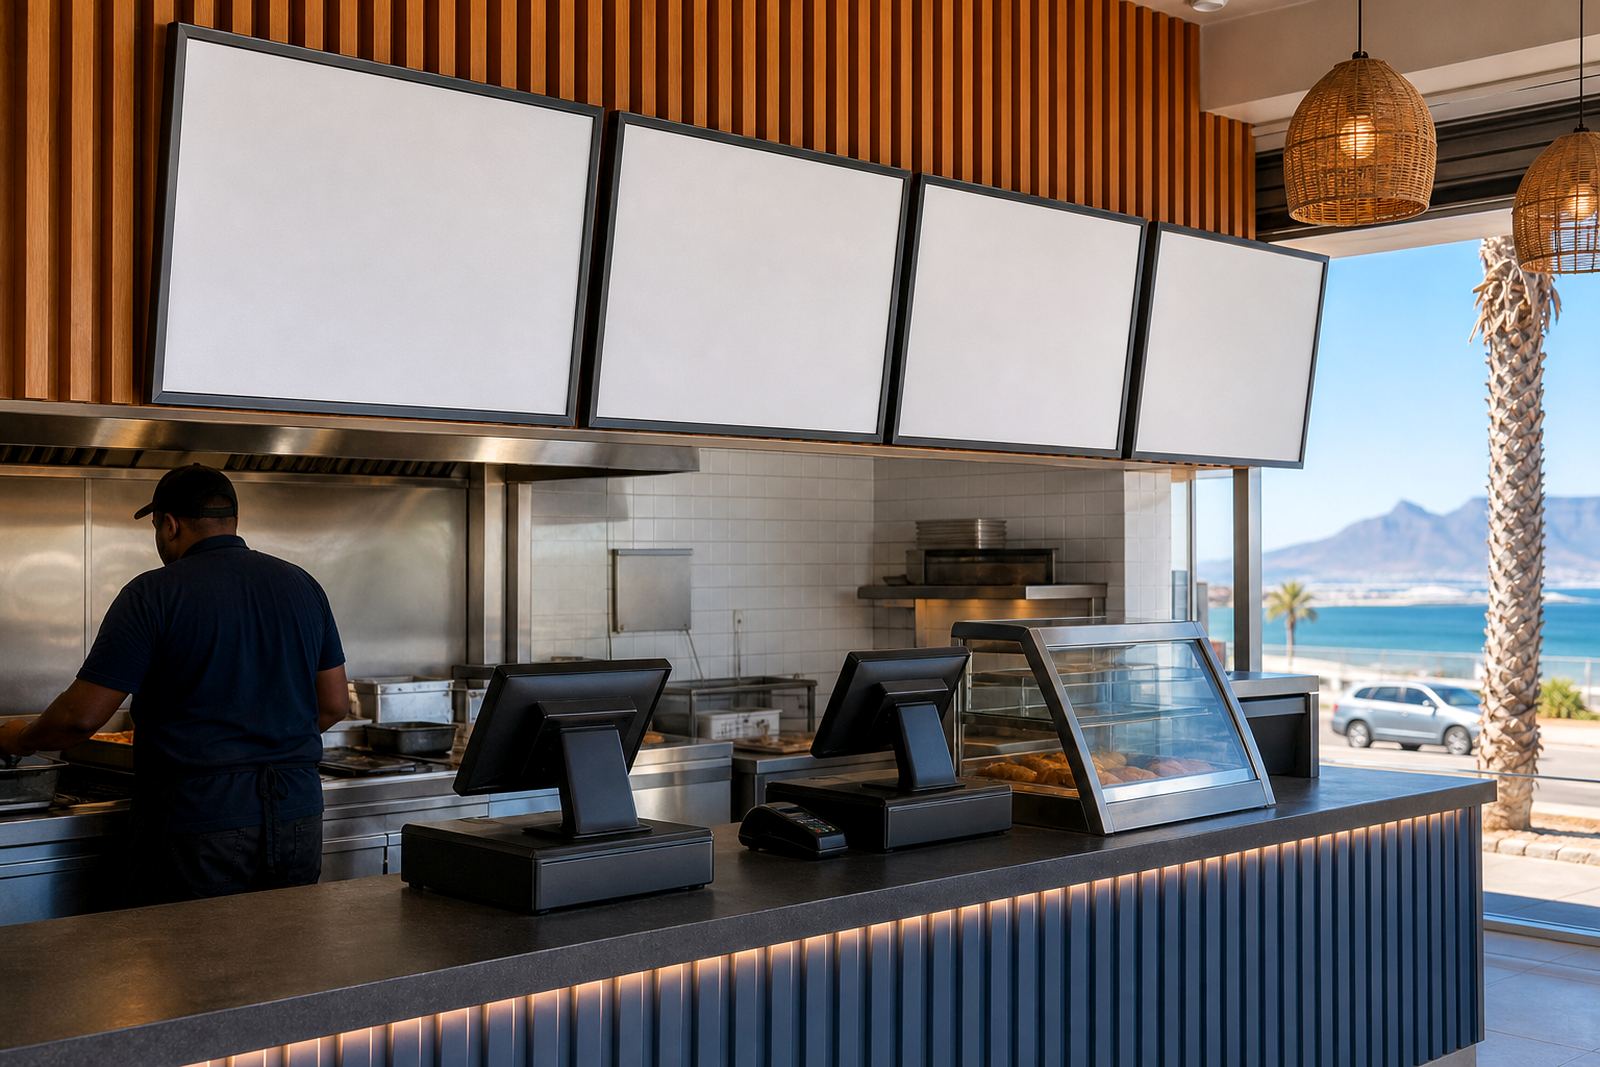
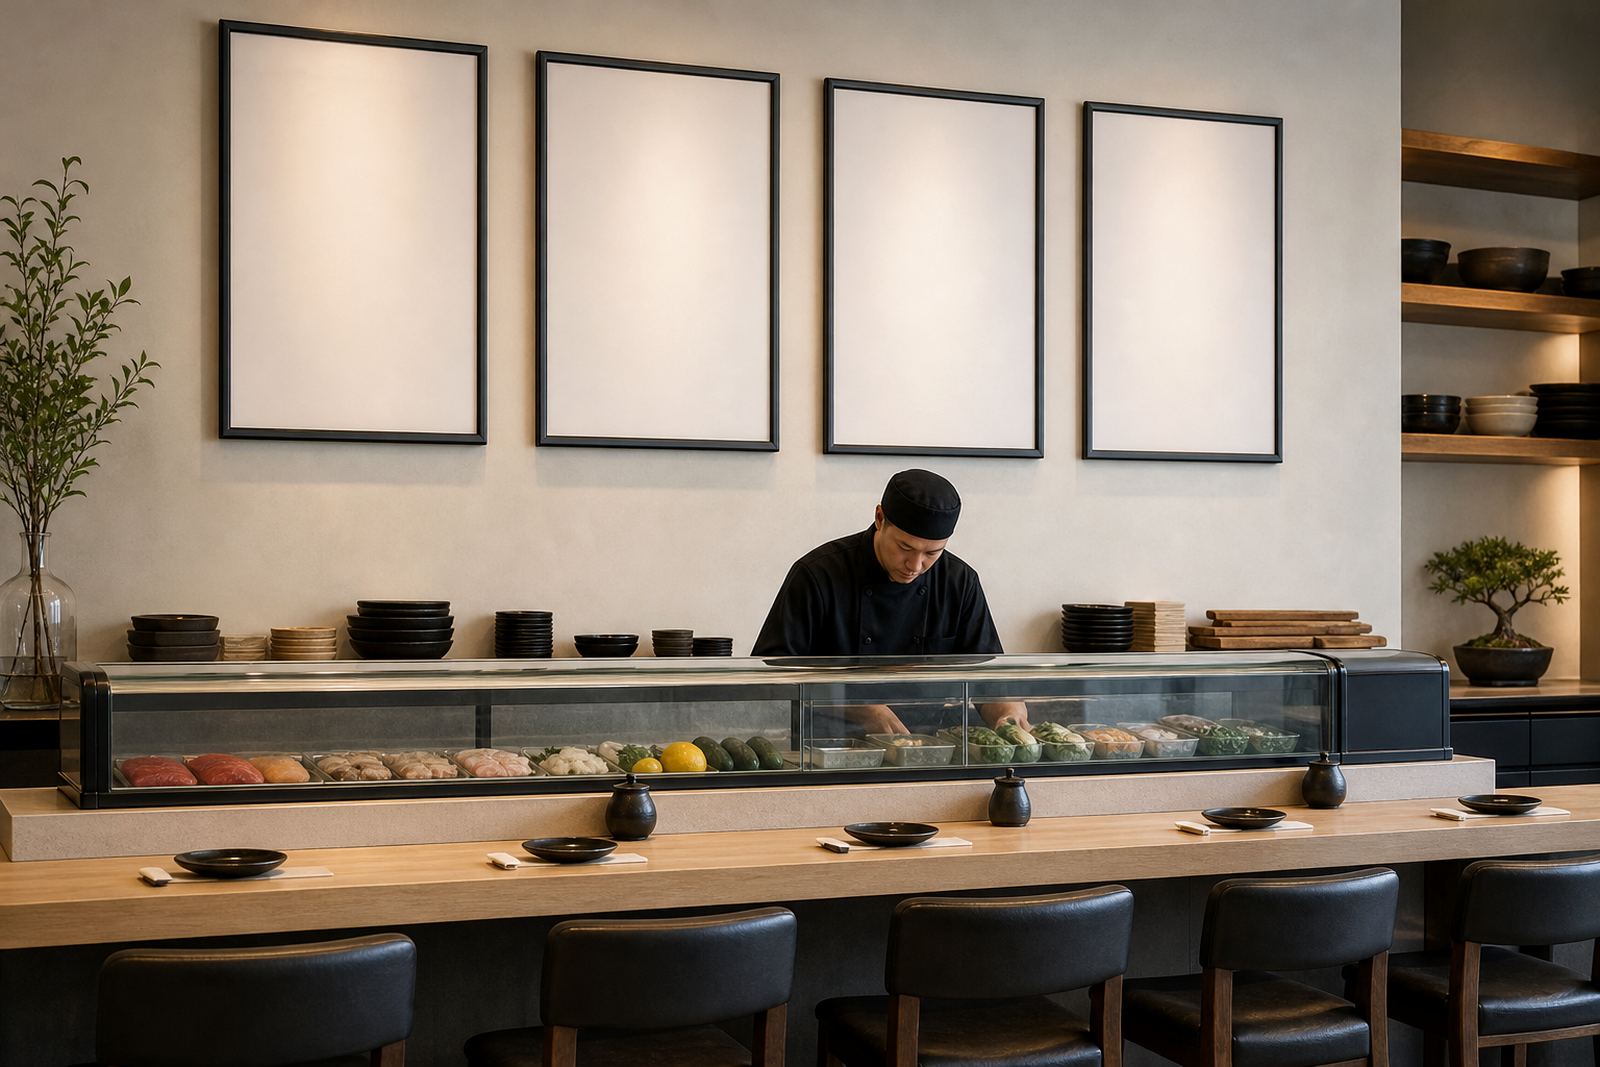
We were asked to set up a wall display that could hold the main menu, a small notice board for collection details, and a freestanding piece that could move near the entrance when needed. The site had limited wall space and a narrow service path, so every frame had to sit flat and leave room for foot traffic and cleaning.
- Type of client: sushi bar and takeaway counter
- Town: Durbanville
- Display needs: menu, notices and collection messages
- Space limit: compact wall area with a tight front counter
Format choices that kept the counter clear
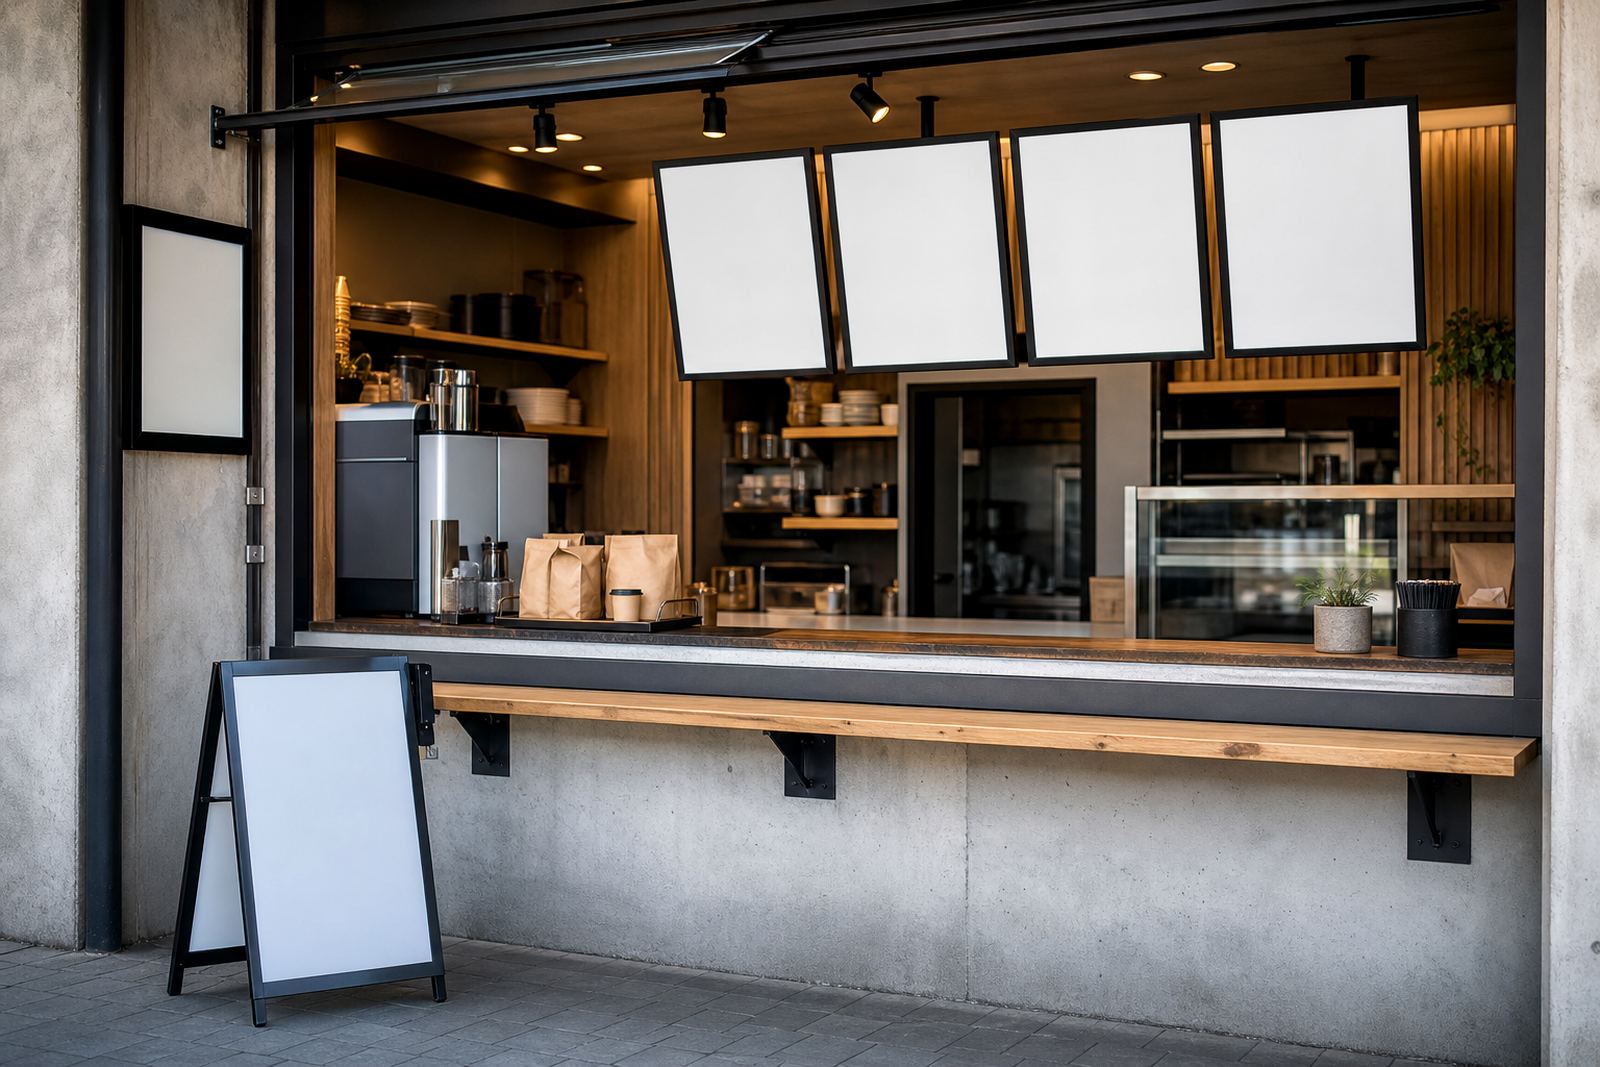
We used A3 and A4 snap frames with aluminium profiles, anti-glare covers and simple wall mounting. The larger frame carried the main menu where customers could read from a short distance, while the smaller frames handled pickup notes, lunch specials and allergen notices. The anti-glare cover mattered because the front area gets a lot of light from the street and from overhead fittings, and the text still needed to read cleanly at an angle.
An A-frame stand was added for the doorway and collection point. That gave the team a moveable surface for daily notices without crowding the serving line. We kept the wording on each insert short, because long blocks of text look untidy in a small room and are awkward for staff to update.
- A3 snap frames for the main menu board
- A4 frames for notices and smaller inserts
- Anti-glare covers for front-facing readability
- A-frame stand for flexible placement
Artwork, sizing and proofing for quick swaps
The menu layout had to work across several insert sizes, so we prepared print-ready templates and checked the line breaks before printing. The sushi list used tight spacing around item names and prices, while the collection notices needed larger type and more open margins. We also adjusted a few sections so the same content could sit in both portrait and landscape frames without awkward cropping.
Menu resizing was important here because the client wanted one system that could handle a full dinner sheet and smaller takeaway notices without redoing everything from scratch. We supplied laminated menu prints for handling at the counter, plus poster insert printing for the larger display. Colours were matched so the deep tones stayed consistent from one insert to the next, even where the paper stock changed a bit. There was a small typo caught during proofing, and it would have looked sloppy on the wall.
- Print-ready templates for A4 and A3 layouts
- Menu typesetting for prices, item names and notes
- Menu proofing before print release
- Colour matching across repeated inserts
Install position and everyday handling
The wall frames were placed where customers could read them without standing in the way of the till or the pass. The A-frame stood close enough to the door for late arrivals and takeaway customers, but not so close that it blocked the entry. That balance matters in a small room, especially when staff are carrying trays or packing orders through the same path.
Mounting was kept straightforward. The frames needed to open and close cleanly, and the inserts had to drop in without bending. We also packaged the printed sets so the client could separate the wall menu from the collection notices and swap them as needed. In a coastal city, the aluminium profile and covered print surface help the display stay neat with regular wiping and the odd bit of moisture in the air.
- Wall mounting for the main display
- Freestanding support near the entrance
- Courier-ready packaging for the printed sets
- Simple insert changes without tools
Timeline from layout to fit-out
The project ran over three weeks from brief to fit-out. The first stage was measuring the menu content and deciding what belonged in the wall frames, what belonged on the A-frame, and what should stay as a small notice instead of a full panel. The second stage was layout, proofing and resizing, which took care of spacing and legibility across the different inserts. The final stage was printing, packing and fitting the pieces into place.
Because the menu changes often in a sushi bar, we kept the structure practical rather than decorative. The result was a tighter front area, easier staff updates and less paper clutter around the counter. Customers could read the core menu at a glance, and the smaller notes no longer fought with the main display for space. The room felt calmer, though the footprint stayed the same.
- Week 1: brief, measurements and menu sorting
- Week 2: typesetting, proofing and size adjustments
- Week 3: printing, packaging and placement
What carried through after the frames were up
The biggest change was order at the front of house. The team no longer needed to fumble with loose sheets for collection notices, and the main menu held its shape instead of curling at the edges. The customer flow also became easier to manage because the key information sat in one place, at eye level, instead of being split across different bits of paper.
If we were doing a similar sushi counter again, we would keep the same mix of A3 main frames, A4 notice frames and one A-frame stand for movement near the door. That combination gives a small food business enough room to update specials without overfilling the wall. It also keeps the printing list sensible, which helps when menus change by the week or the paper stock shifts a bit.
- Cleaner wall presentation for the main menu
- Less clutter around the service counter
- Quicker insert changes for specials and notices
- Readable displays from a short customer distance
Key facts
| Project | Durbanville Sushi Bar |
|---|---|
| Town | Durbanville, Cape Town |
| Main formats | A3 and A4 snap frames |
| Frame finish | Aluminium profiles with anti-glare covers |
| Support piece | Freestanding A-frame menu stand |
| Lead time | 3 weeks from brief to fit-out |