
Brick does not forgive a casual mark-out
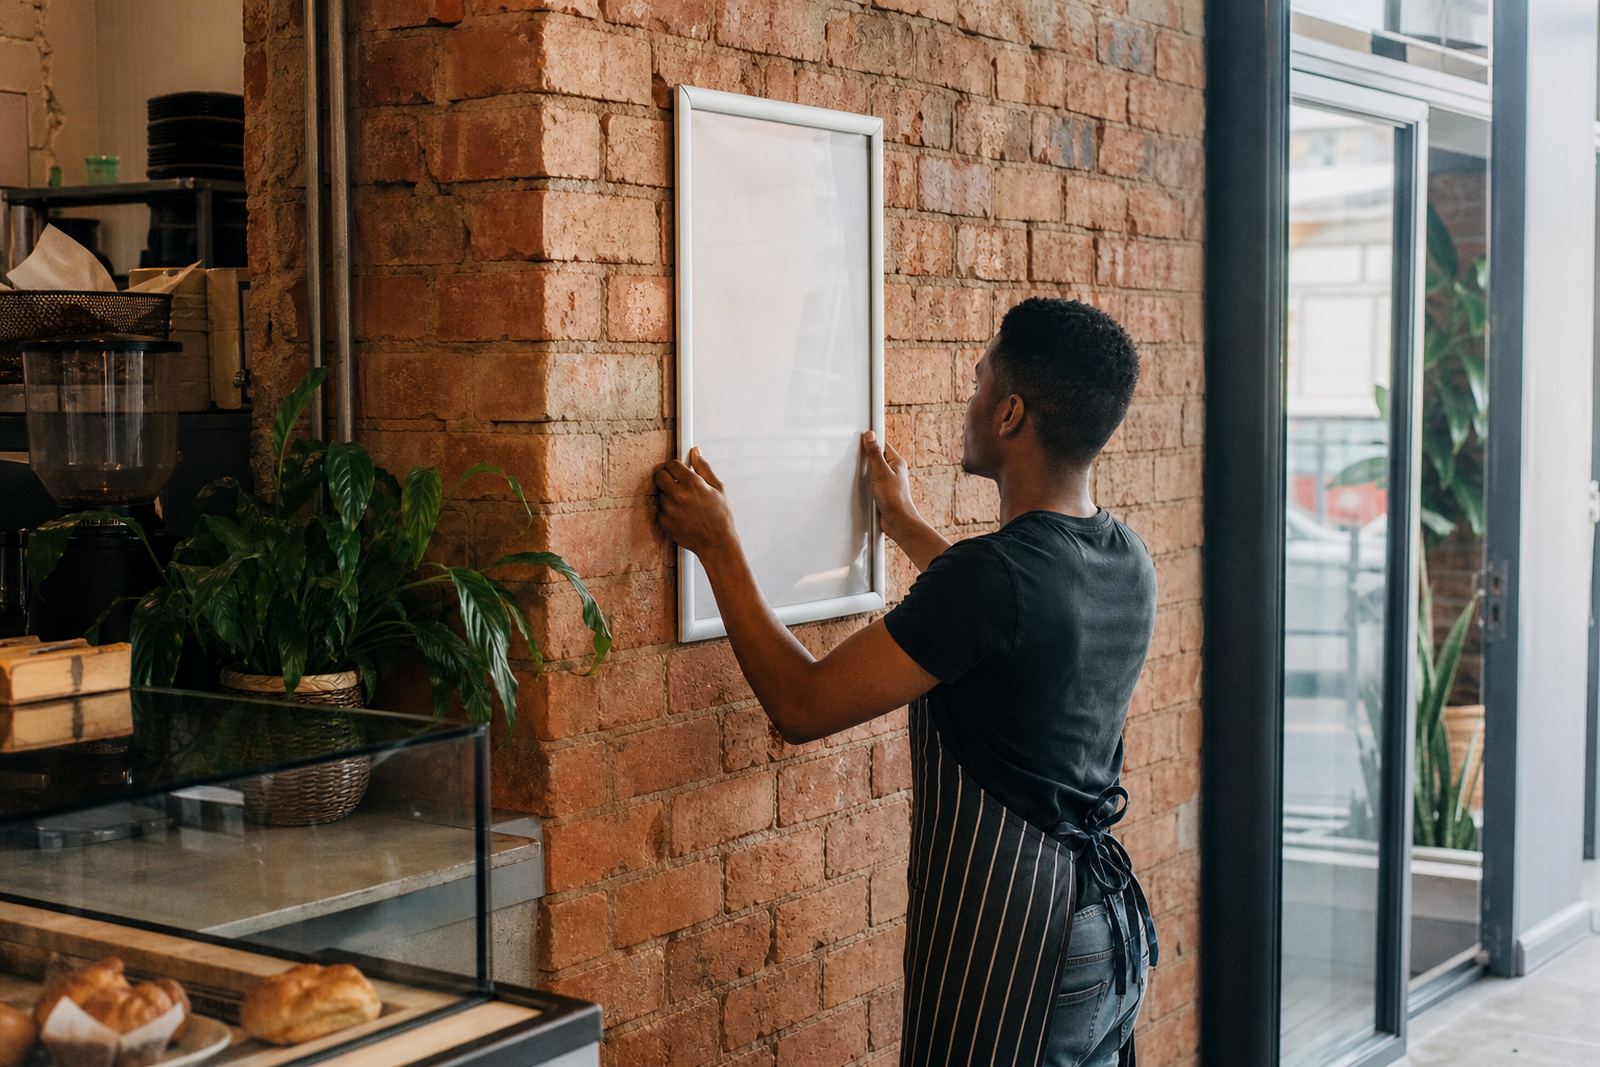
When a snap frame goes onto brick, the first job is marking the line properly. A wall that looks level by eye often carries a slight rise, old mortar repairs or patchy plaster. If the top line drifts, the frame will show that drift from across the room.
For A4 and A3 menu boards, small errors become visible fast. The frame may be square on the board but still look crooked against the bricks. That is why a measuring tape, spirit level and a clear centre point matter before any drill bit touches the wall.
- Check where the mortar lines sit and where the brick faces project.
- Mark the frame position at eye level before drilling any holes.
- Leave space for the front opening to swing cleanly.
Fixings need to suit the wall, not the guess
Brick calls for proper plugs and screws matched to the surface. Hard face brick, softer clay brick and old painted brick all behave differently. A fixing that holds well in one wall can wobble in another, especially where the board will be opened and closed often.
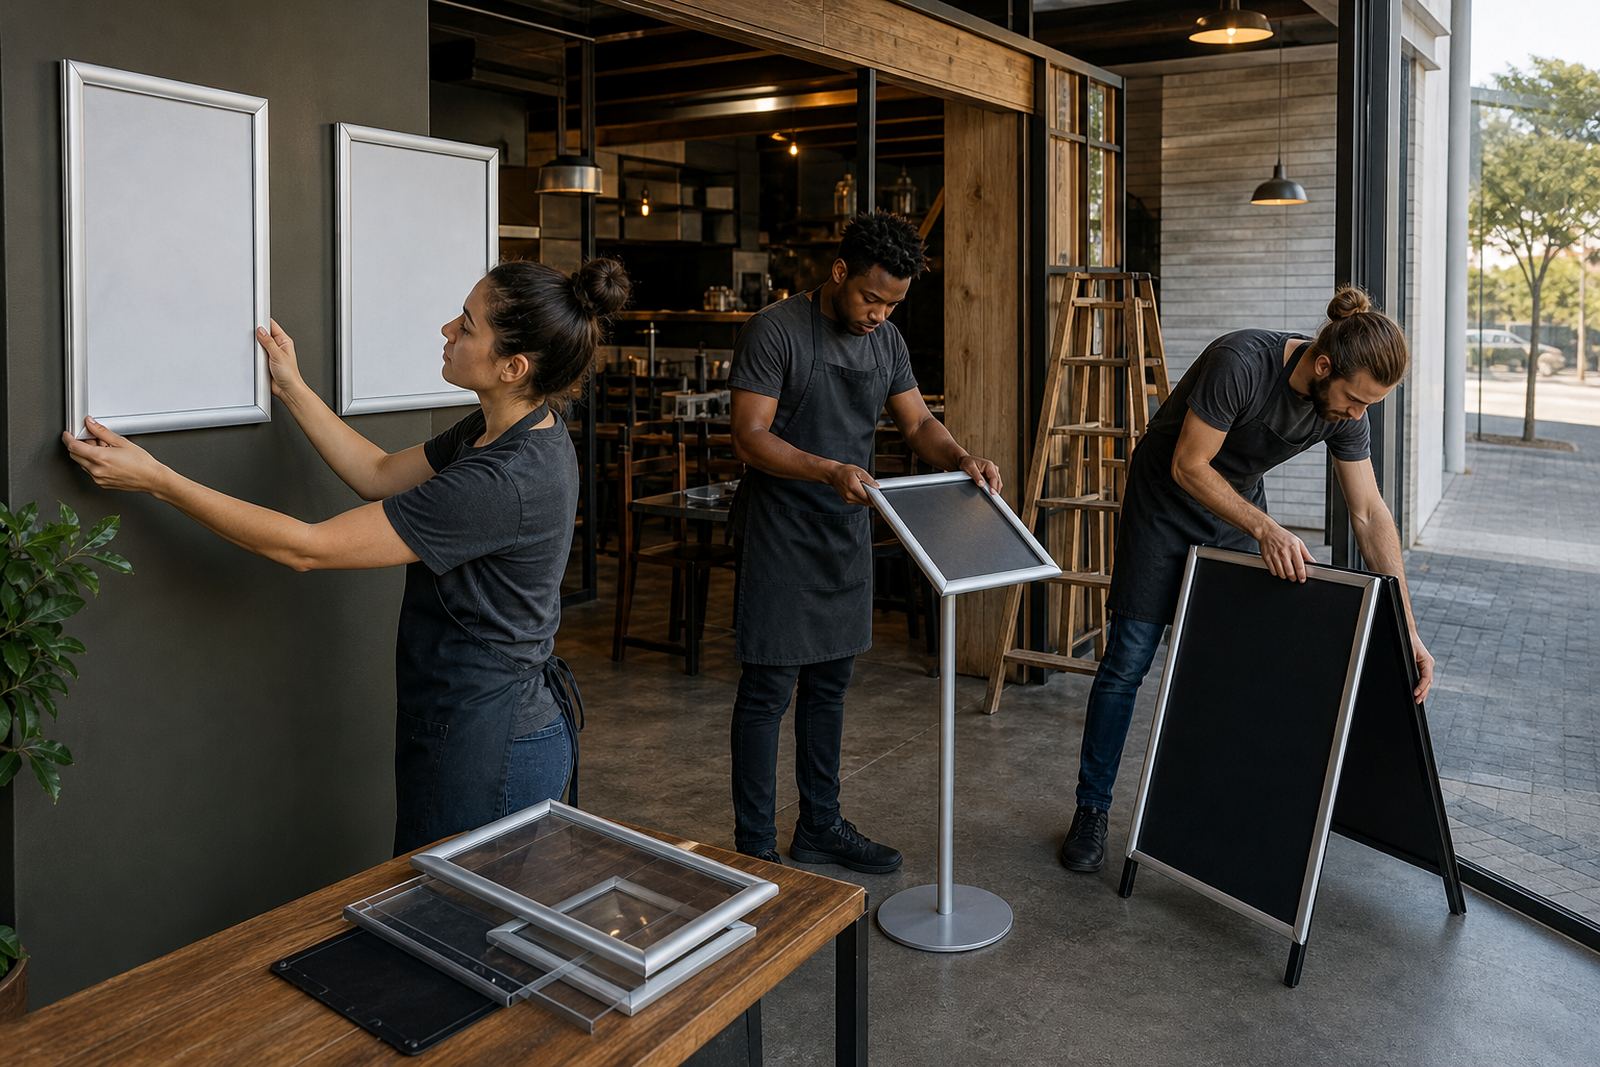
For heavier menu boards and A-frame menu stands used near entrances, the load matters more than many people think. A frame with a laminated print and anti-glare cover still needs firm support so the hinge side does not pull loose over time. In textured plaster, the installer may need to work through the finish and anchor into the material behind it.
- Use fixings that suit the wall depth and surface condition.
- Allow for the weight of the frame, inserts and cover sheet.
- Check that both top corners carry evenly, not just one side.
Textured surfaces need a little more breathing room
Rough plaster, bagged brick and painted feature walls can all push a frame slightly off the face of the wall. If the snap frame sits too tight, the aluminium profile can catch on the texture and the edges may not close properly. A small spacer can solve that, but it must be used neatly so the frame still looks intentional.
Window mounting brings its own issues. A menu board fixed near glass should sit clear of handles, trims and opening sashes. In a busy café, a frame that sits too close to a doorway gets knocked with trays or shoulder bags. At an open takeaway counter, the better answer is often a wall position just beside the queue line.
- Use spacers where surface texture would prevent a flush fit.
- Keep the opening edge clear of doors, handles and foot traffic.
- Test the front action before the final tightening.
Size, viewing height and the menu inside the frame
A4 and A3 frames work best when the viewing height is planned with the menu, not after it. If the text is too small for the distance, even a neat mount will not help the board do its job. Short counters need clearer type and cleaner spacing than larger dining rooms, where guests stand back a little more.
Menu resizing and typesetting become part of the mounting job because the insert has to suit the frame exactly. A board that is built for a portrait A3 print should not be treated like an afterthought if the content was designed for A4. If the artwork leaves too much white space or crops the price line, the whole board starts to look untidy.
- Match the printed size to the frame opening before installation.
- Keep key items at a height that can be read from the queue.
- Use proofing to catch spacing and crop problems early.
A Cape Town example from a textured takeaway wall
In Paarden Eiland and Milnerton, many takeaway counters sit inside older buildings with painted brick or uneven plaster. A wall menu board on that kind of surface needs careful setting out because the building may already have small shifts and repairs. One side can sit on a harder patch of brick while the other lands on softer plaster, and that changes the drill feel at once.
For a local install, the sensible approach is often to measure the board against the counter line, then check the brick pattern before drilling. On a narrow wall beside a service hatch, an A3 snap frame may work better than a larger board because staff can swap prints without reaching over hot food or crowded trays. In that setting, a clean, level mount does more than look neat. It keeps the menu readable and the changeover simple.
What to pack, print and protect before the drill starts
The wall is only half the job. The insert, cover and packaging need to arrive in a form that fits the frame and survives handling. If the menu print edges curl or the protective sheet scratches in transit, the frame may be mounted perfectly but still present badly.
Courier packaging matters for jobs sent beyond Cape Town, Stellenbosch, Johannesburg, Durban and Gqeberha. Menus that travel need flat protection, corner support and a clear label on orientation. For printed inserts, a good finish also helps on brick mounted boards, because fingerprints and glare show faster under counter lights.
- Pack prints flat so the sheet does not crease before fitting.
- Protect corners and profile edges during courier delivery.
- Use a finish that limits glare near bright service counters.
When the board should be the easiest part of the wall
A well mounted menu board should not feel fussy each time the staff open it. On brick, the real test is whether the frame stays aligned, the inserts sit straight and the wall still looks tidy after several changes. If the board swings cleanly and the print lands where it should, the wall is doing its job without drawing attention.
That is the point of proper mounting on brick or textured surfaces. The wall can be irregular, but the menu face does not have to be. Once the fixing is right, the frame should look like it belongs there and the menu should be easy to update when prices or items change.