
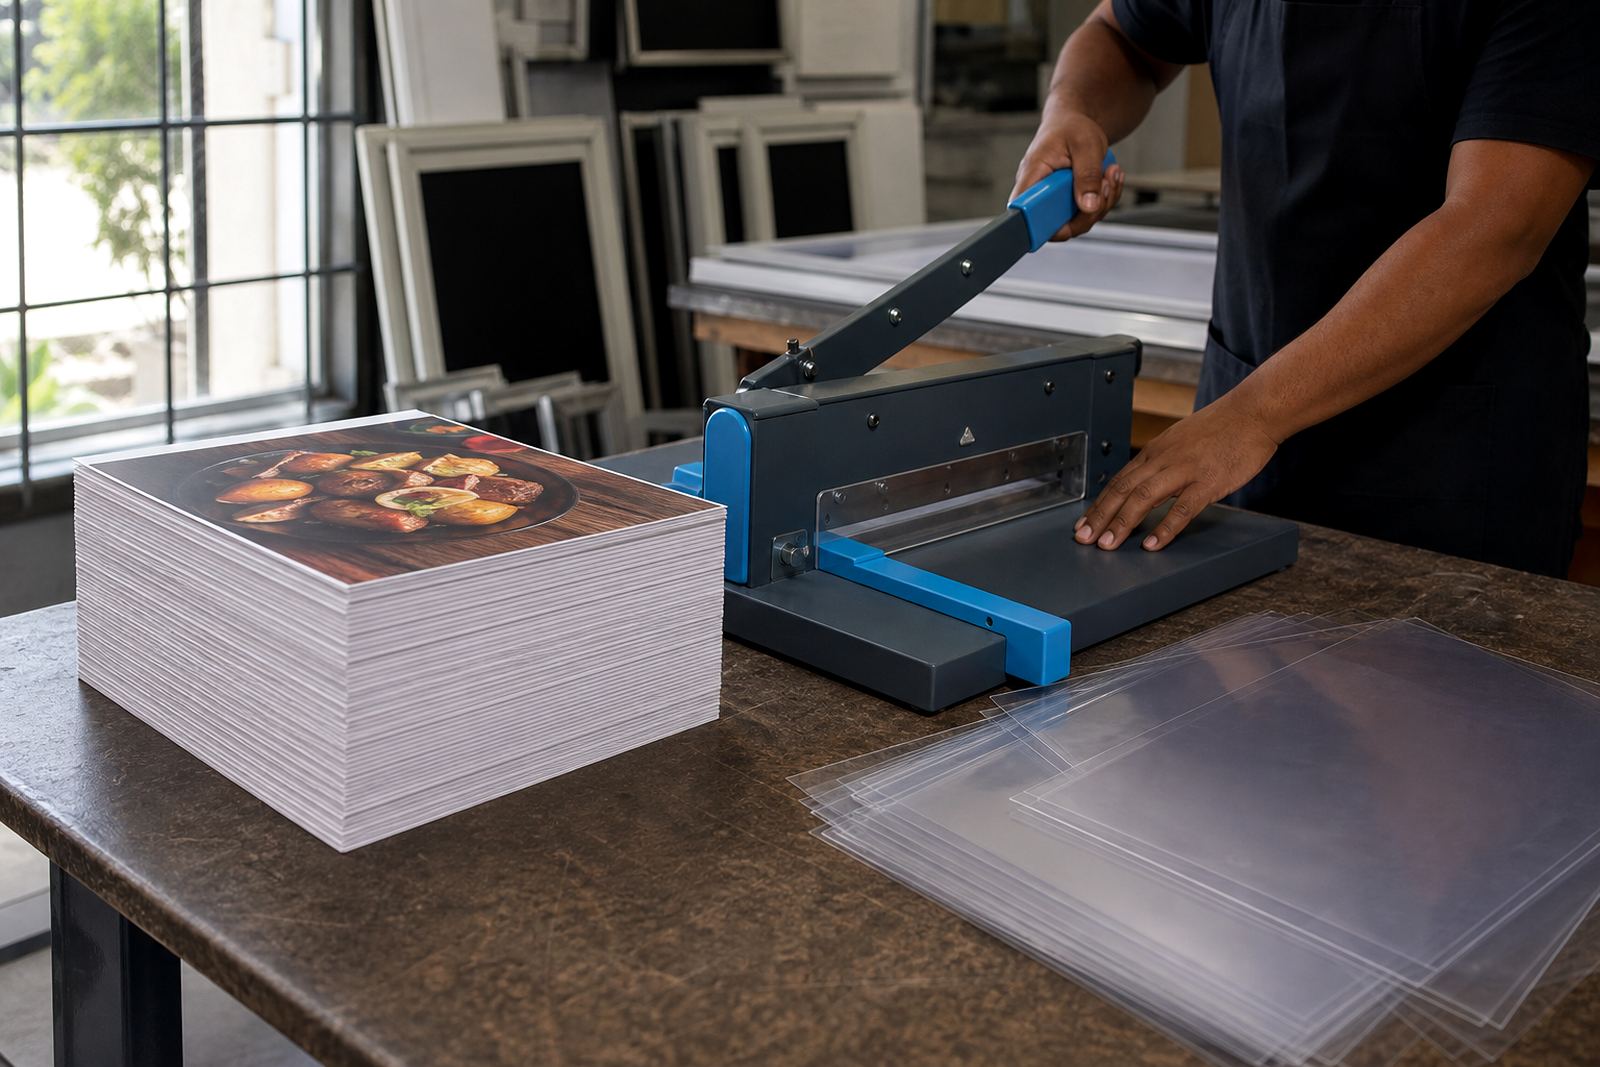
Clean edges for inserts that sit flush
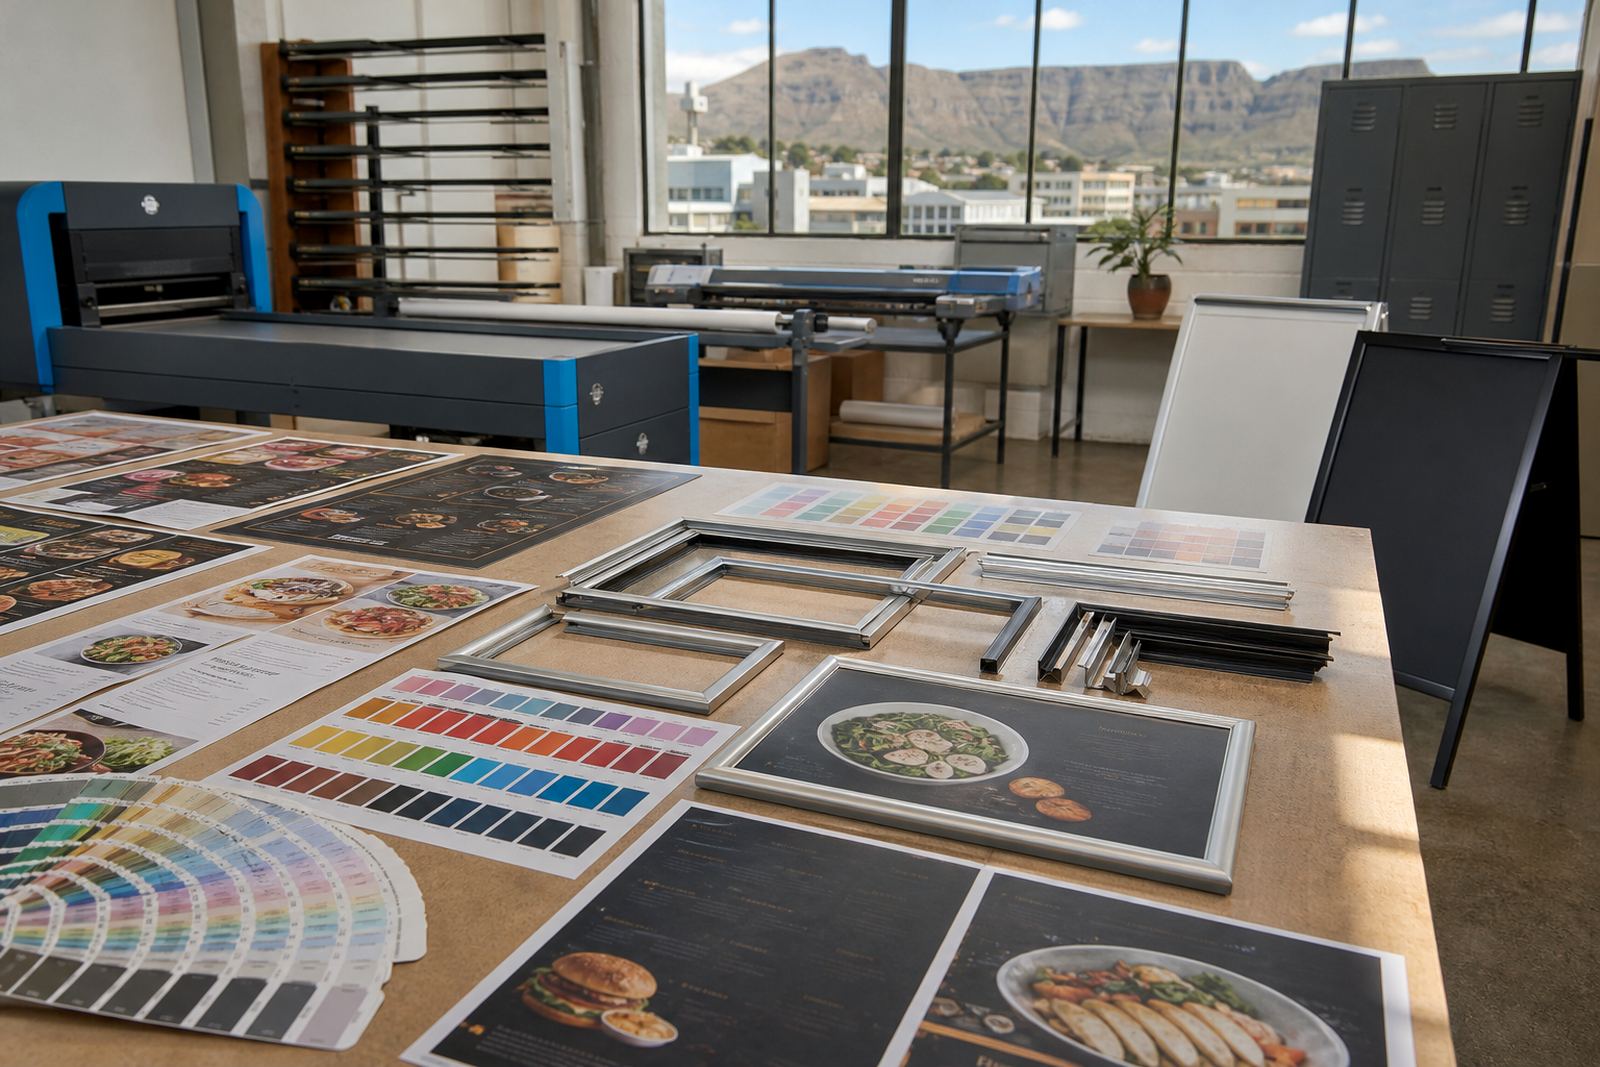
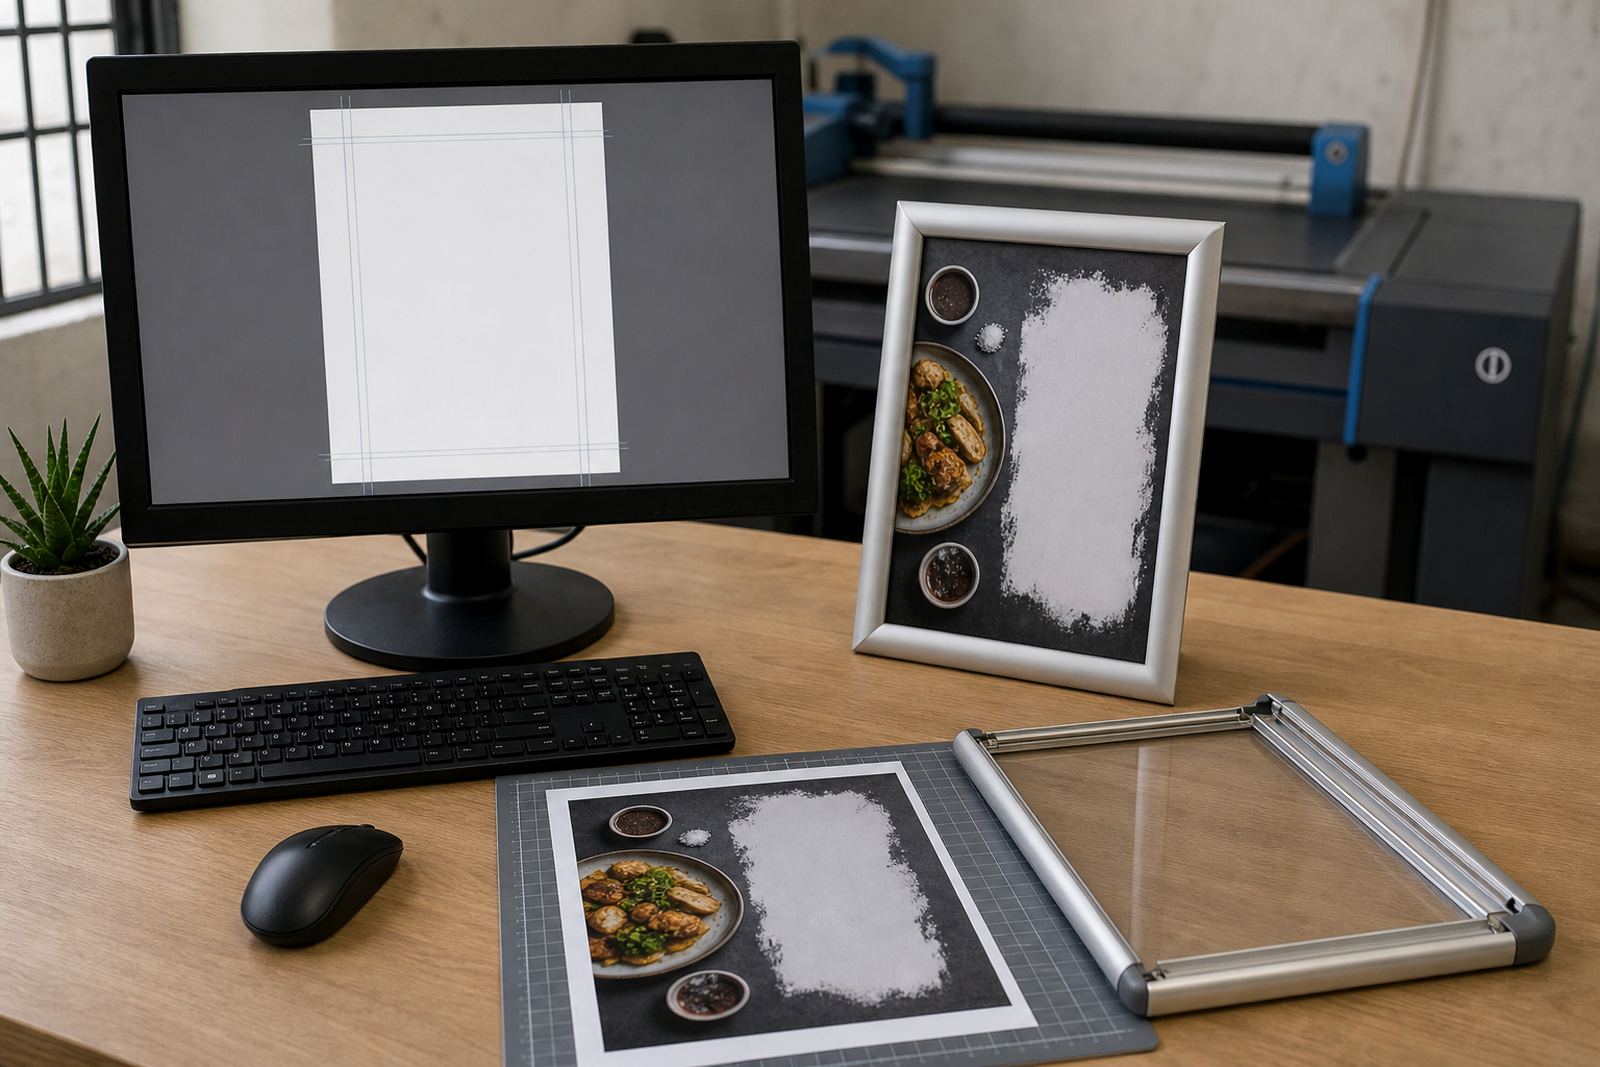
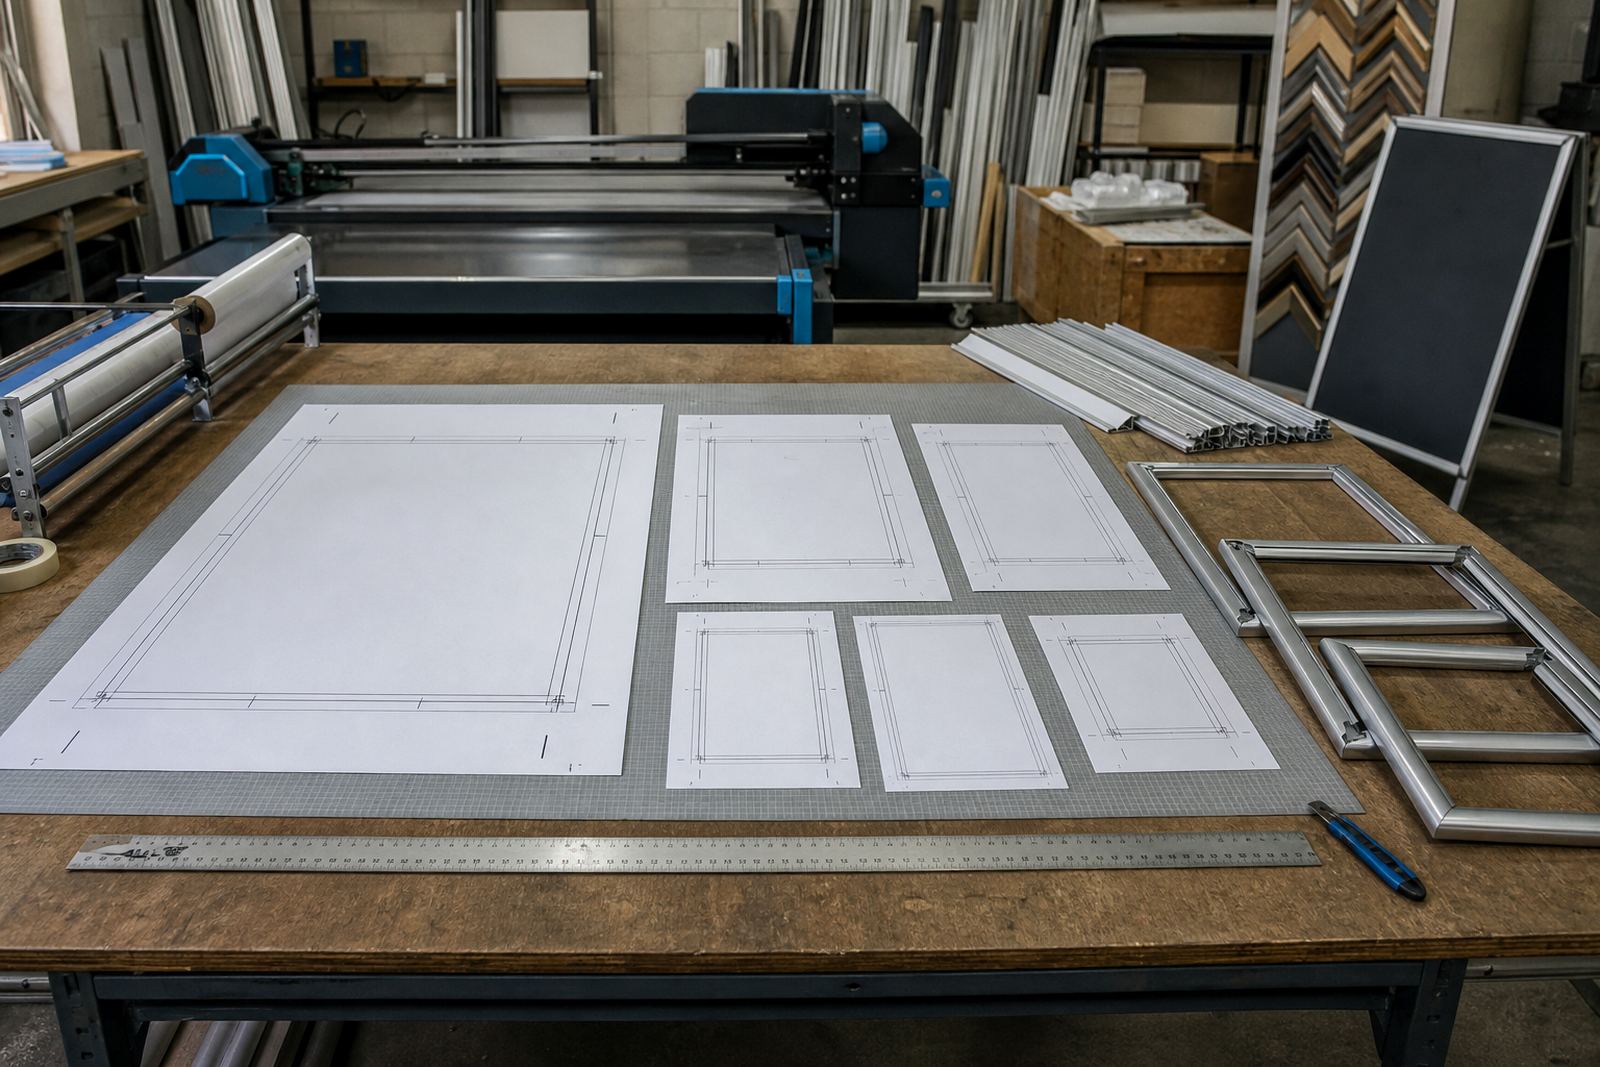
Print finishing is where loose sheets become ready inserts. We trim to the stated size, check the edge line, and make sure each piece sits square inside snap frames, wall boards or tabletop holders without forcing the corners.
For restaurant menus, cafe specials and takeaway lists, that final fit matters. A sheet that is even a few millimetres off can buckle under the cover, lift at one side or sit crooked once it is mounted. We keep the cut line tight and the finish tidy, especially on short runs where every insert needs the same shape.
- A4 and A3 inserts trimmed to exact frame sizes
- Edge squaring for single sheets and stacked sets
- Corner clean-up for inserts that must slide under clips
- Preparation for wall, window and counter displays
What gets done before a menu goes out
Each job starts with the printed sheet and the final frame size. We check whether the insert is for a standard A4 snap frame, an A3 board, an A-frame stand or a wall mounted menu holder. That check decides the trim allowance, the orientation and whether the edges need extra handling before packing.
Where the artwork carries a border, we preserve the balance of that border rather than cutting it off-centre. Where the design runs full bleed, we keep the cut line true so colour reaches the edge properly. If a menu needs to be swapped often, we finish it so the sheet slides in neatly and lifts out without scuffing the face.
- Trimming to standard A4 and A3 dimensions
- Bleed control on full colour menu prints
- Border alignment for framed inserts
- Stack sorting for multiple menu versions
Working steps from print room to packed insert
We handle finishing in a straight sequence so the job stays organised. Sheets are checked, trimmed, counted and grouped by version. If there are lunch, dinner or drinks sets, those versions are kept separate so the right menu goes into the right frame.
When a job includes laminated menu prints, we trim after lamination and then do the edge check again. That keeps the seal neat and avoids rough corners that can catch when a board is opened. For chalkboard inserts or poster styles, we can finish them to suit the board opening and the visible window area.
- Check print size against the frame opening
- Trim and re-check the finished edge
- Group by outlet, version or menu section
- Pack flat for courier delivery across South Africa
Sizes, materials and the finish that suits each one
Different inserts need different handling. Thin paper menus for a snap frame need a lighter finish so the sheet stays flat. Heavier stock for a wall board may need a firmer trim line, while laminated pieces need careful edge work so the seal does not fray.
Typical print finishing work covers A4 and A3 menu sheets, poster inserts, folded specials and board inserts. Where a client uses aluminium profiles, anti-glare covers or window mounted frames, we make sure the finished sheet matches the visible area rather than just the paper size. That detail saves time on site and keeps the display neat in busy service areas.
- A4 inserts for compact menu frames
- A3 inserts for larger wall boards
- Poster inserts for specials and notices
- Laminated sheets trimmed for repeated handling
Pricing that follows the job, not a fixed guess
Print finishing is priced according to size, quantity, folding, trimming detail and whether the inserts need lamination before cutting. A small batch of lunch menus will sit in a different cost band from a wider run of takeaway boards, because the amount of handling changes the work.
We also look at whether the job includes mixed sizes, colour matching, packaging for multiple branches or courier packing for towns like Stellenbosch, Johannesburg, Durban and Gqeberha. That keeps the pricing tied to the real handling involved, not to a broad one-line rate that misses half the task. The result is practical for outlets ordering one location or several.
- Single size jobs are simpler to finish
- Mixed menu sets need extra sorting
- Laminated or folded items take more handling
- Courier packing is added where needed
Aftercare for inserts that stay neat in use
After the job leaves our shop, the most common follow-up is about keeping inserts flat, clean and easy to swap. We talk through how to store spare menus, how to handle laminated sheets without marking the edges, and how to keep replacement prints grouped by version so staff do not mix them up.
If the frame size changes later, or if a menu is updated for a new season, we can work from the same print size and re-finish the new set to match. That helps when a restaurant needs one branch on a different layout from another, or when a cafe shifts from breakfast to supper menus with different item counts and spacing.
- Store spare inserts flat and dry
- Keep version sets grouped by outlet
- Handle laminated edges with care
- Use the same size notes for reprints
Key facts
| Available sizes | A4, A3 and custom insert sizes |
|---|---|
| Finish types | Trimming, squaring, folding and edge clean-up |
| Compatible displays | Snap frames, wall boards, A-frame stands and window mounted holders |
| Material handling | Paper, laminated sheets and poster inserts |
| Turnaround | Depends on quantity, finish type and print stage |
| Delivery area | Cape Town and nationwide courier delivery across South Africa |