
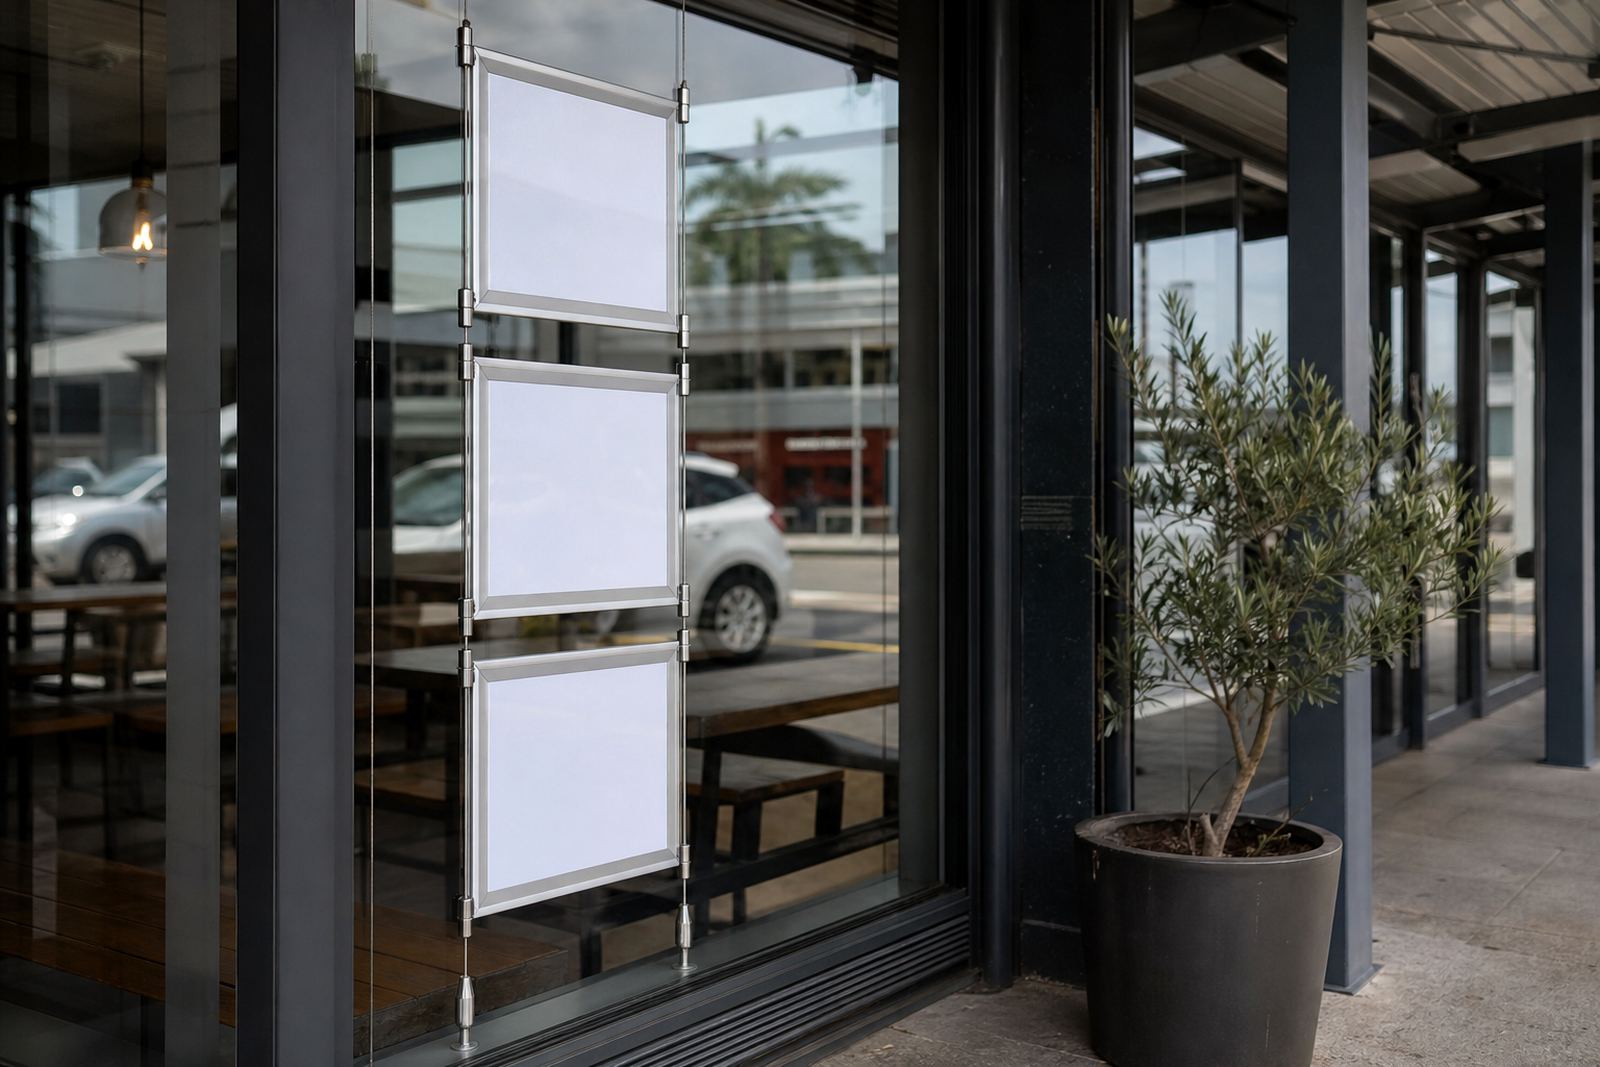
A suspended menu setup that stays neat in glass fronts
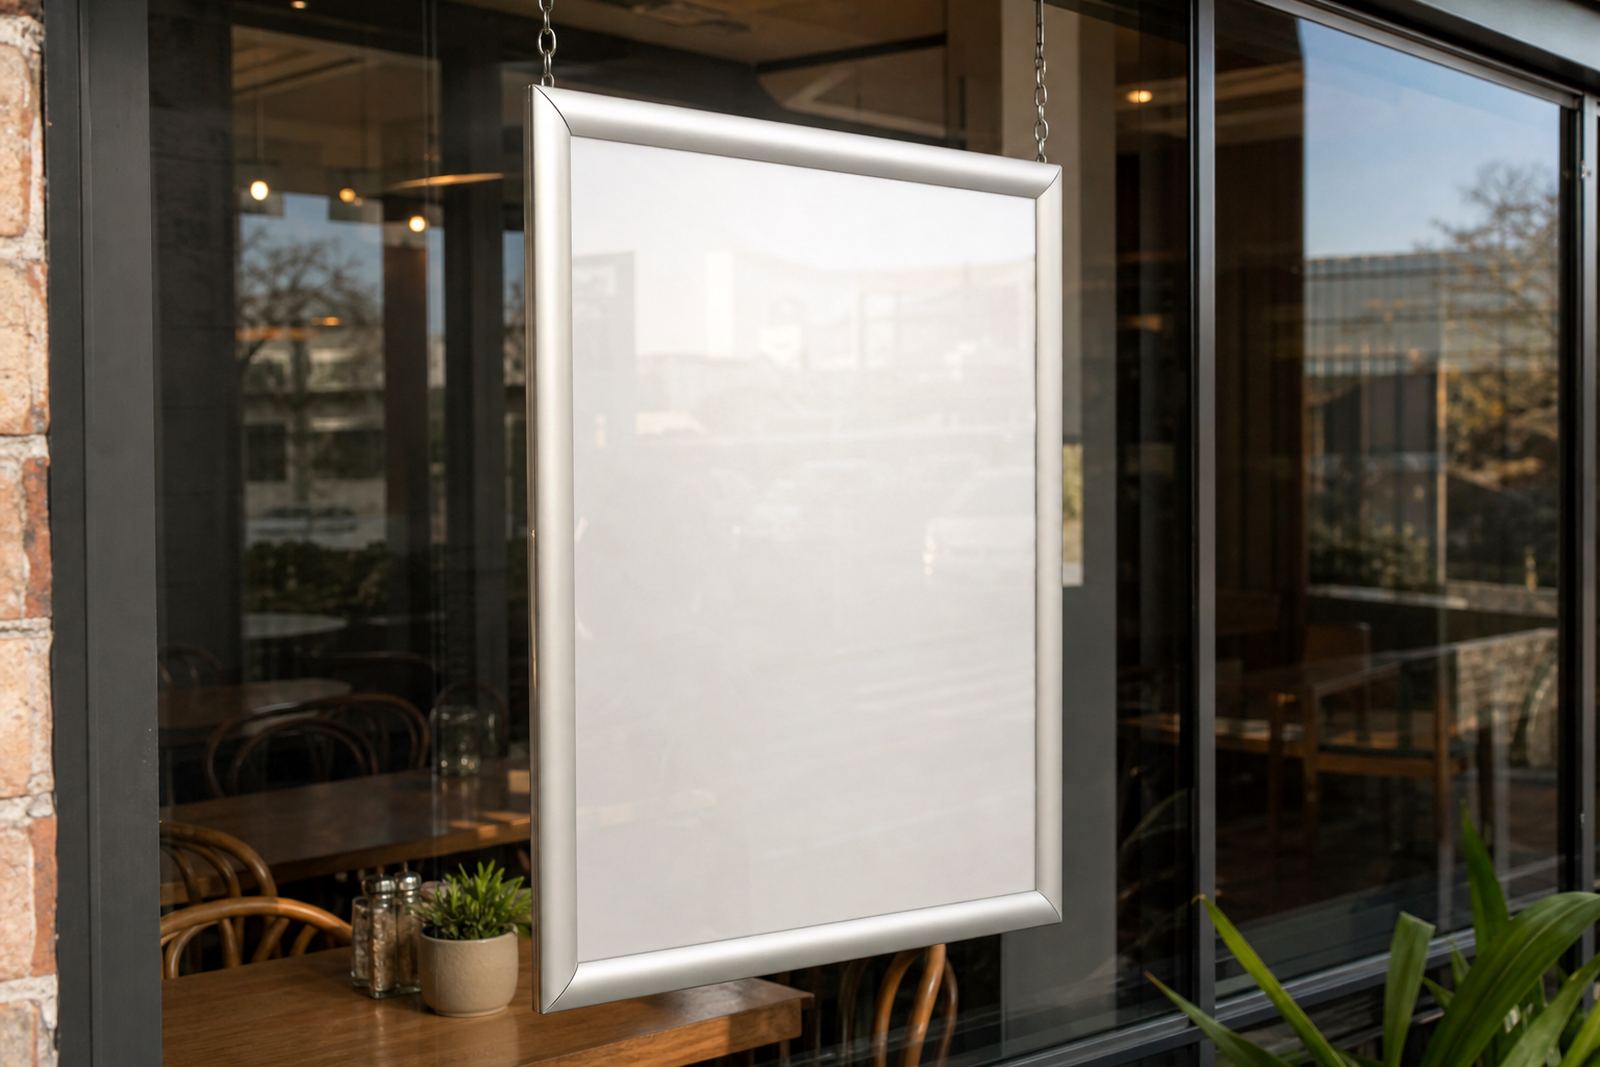
This kit uses vertical cables and slim holding hardware to suspend a menu panel in a window or inside a glass frontage. The look is tidy, with the insert held flat and readable rather than floating loose against the glass. It is a practical fit for cafés in Stellenbosch, takeaway counters in Bellville, or bars in Cape Town that want the menu visible from outside without a bulky frame on the counter.
The system is made for interchangeable printed inserts, so specials, breakfast lines or price changes can be swapped without taking the full display apart. That keeps the front of house looking orderly, and the menu can be refreshed without tools at every change. For fast-moving service areas, that matters more than fancy hardware.
Sizes, inserts and the frame styles that work with it
The kit is commonly paired with A4 and A3 menu inserts, depending on how much text needs to fit and how close the viewing distance is. A4 suits tighter window spaces and shorter menu sets, while A3 gives more room for categories, item names and prices. Where a wider format is needed, the layout can be planned around a larger board with clear spacing between sections.
- A4 insert size for compact window menus and shorter lists
- A3 insert size for fuller menus and larger lettering
- Clear front cover options for print protection in busy trading areas
- Aluminium side components for a tidy, hard-wearing finish
- Single-sided or double-sided display layouts, depending on viewing direction
The inserts can be printed as laminated menu sheets, poster inserts or full-colour menu panels, depending on the finish you want inside the display. If the menu is being viewed through glass from the street, the layout needs a stronger contrast and larger text than a wall board viewed at arm’s length.
Where the cable system fits best in day-to-day service
Window displays work well when the front counter is close to foot traffic and the menu needs to be seen before anyone steps inside. That is useful for lunch spots in Milnerton, dessert counters in Gqeberha, or coffee bars along the Cape Town side where passers-by make quick decisions from the pavement. The suspended format keeps the menu off the counter and free of cups, trays and till traffic.
It also suits places that change specials through the week. A breakfast board can move into a lunch board, then switch again for evening trading, while the cable lines stay in place. The display feels lighter than a fixed wall board, yet it still reads properly in a glass front with reflections and daylight to contend with.
- Street-facing windows with clear sightlines
- Front counters where space is tight
- Promotions that change often
- Menus that need a cleaner look than loose posters
- Glass-front venues where the board must stay visible from outside
Fitting details for glass, timber and interior frames
The mounting method depends on the surface and the weight of the insert panel. In glass-front areas, the system may be set through or against the glazing structure, while timber or steel surrounds can take different fixing points. A neat fit needs the cable spacing to stay true, because a slight lean is easy to notice once the board hangs in the window.
For a proper install, the fixing points, drop length and viewing height need to be confirmed before manufacture. The team also needs the insert size, the number of boards, and whether the cables must sit in a single line or across multiple panels. If the window has a sill, mullions or a deep reveal, those measurements matter more than people expect.
When the display is being used near a busy entrance, the lower edge should sit high enough for cleaning and safe movement, but low enough for clear reading. That balance is part of the setup and it avoids awkward handling later.
Care, cleaning and keeping the inserts readable
The hardware itself should be wiped with a soft cloth and a mild cleaner, especially in coastal areas where humidity and salt air leave a film on metal surfaces. The printed inserts should be handled by the edges where possible, and laminated sheets last longer when they are not bent during removal. If the display sits close to a window that gets full sun, the print finish should be chosen with glare in mind.
Keep the cover sheet clear of sticky residue and avoid harsh scouring pads, because those can cloud the face of the display. If the menu changes often, storing spare inserts flat in a dry folder helps keep them straight and ready for the next service period. In a busy takeaway counter, that small bit of order saves time when the line is moving.
What to confirm before the kit is made up
To prepare the cable display properly, the main details are the insert size, the number of panels, the mounting surface and the finished drop from top fixing to the bottom edge. It also helps to know whether the menu will be read from inside, outside or both sides. If the board must line up with an existing A4 or A3 menu set, the artwork should follow that format from the start.
- Insert size: A4, A3 or a custom panel size
- Single-sided or double-sided viewing
- Mounting surface: glass, timber, steel or mixed frontage
- Drop length from fixing point to finished board position
- Print finish: laminated sheet, poster insert or full-colour panel
- Any need for colour matching across the rest of the menu set
our contact form is the right place to send the basic measurements and the menu count, along with any print-ready artwork or a note on the format you want. That gives the team the information needed to prepare the cables, holders and inserts around the actual window instead of a guess.
Key facts
| Product type | Suspended cable menu display kit |
|---|---|
| Common insert sizes | A4 and A3 |
| Mounting | Window, glass frontage or interior fixed surface |
| Materials | Aluminium hardware with clear front covers |
| Display format | Single-sided or double-sided |
| Compatible inserts | Printed menu sheets, laminated inserts and poster panels |